

Why Valve End Connection Mismatches Cause Installation Problems
A valve can have the correct nominal size and pressure class but still be unsuitable for installation. The problem is often caused by a mismatch between the valve end connection and the adjacent pipe, fitting or equipment.
Checking the connection details before ordering helps reduce rework, leakage and installation delays.
1. Nominal Size Is Not Enough
DN or NPS identifies the nominal size, but it does not describe every connection detail. Two valves with the same nominal size may have different:
- Connection standards
- Face-to-face dimensions
- Flange drilling patterns
- Internal bore sizes
- End preparation requirements
The valve data sheet should always be compared with the piping specification and the latest approved drawing.
2. Check the Flange Standard and Rating
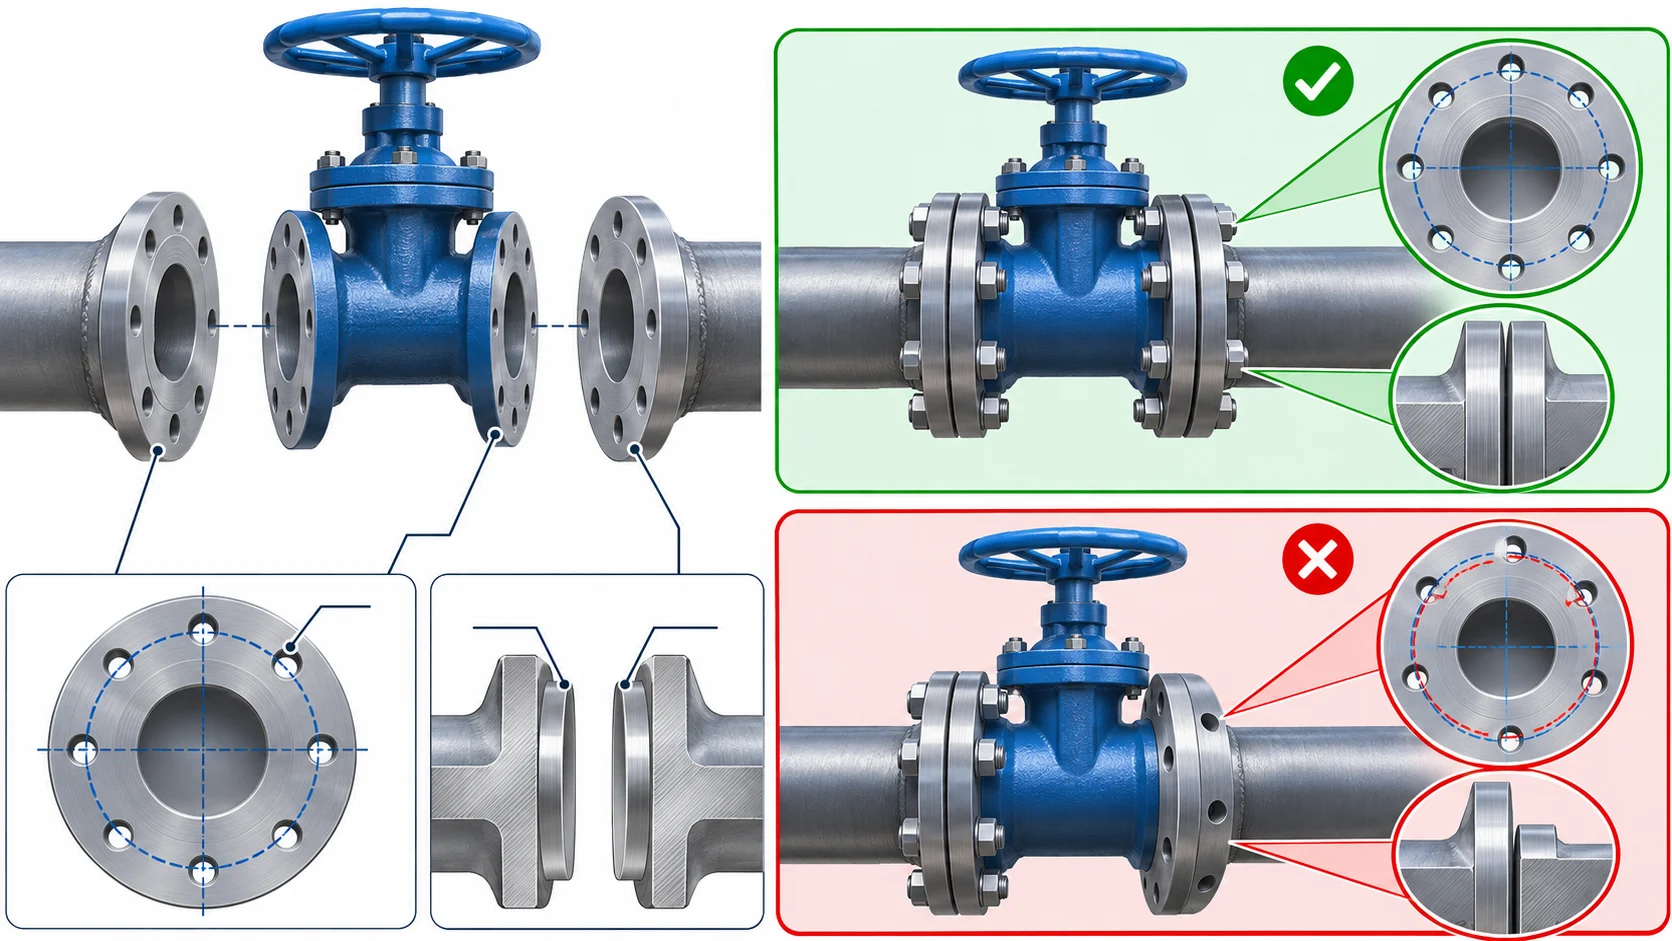
For flanged valves, confirm the applicable standard, pressure class and flange facing. Common examples include ASME Class 150, Class 300, PN16 and PN25.
The following details should match the mating flange:
- Nominal size
- Pressure rating
- Standard
- Facing type
- Outside diameter
- Bolt-hole quantity and pitch circle
- Flange thickness
A valve may have the correct pressure class but still fail to fit if the bolt pattern or facing is different.
3. Select the Correct Welded Connection
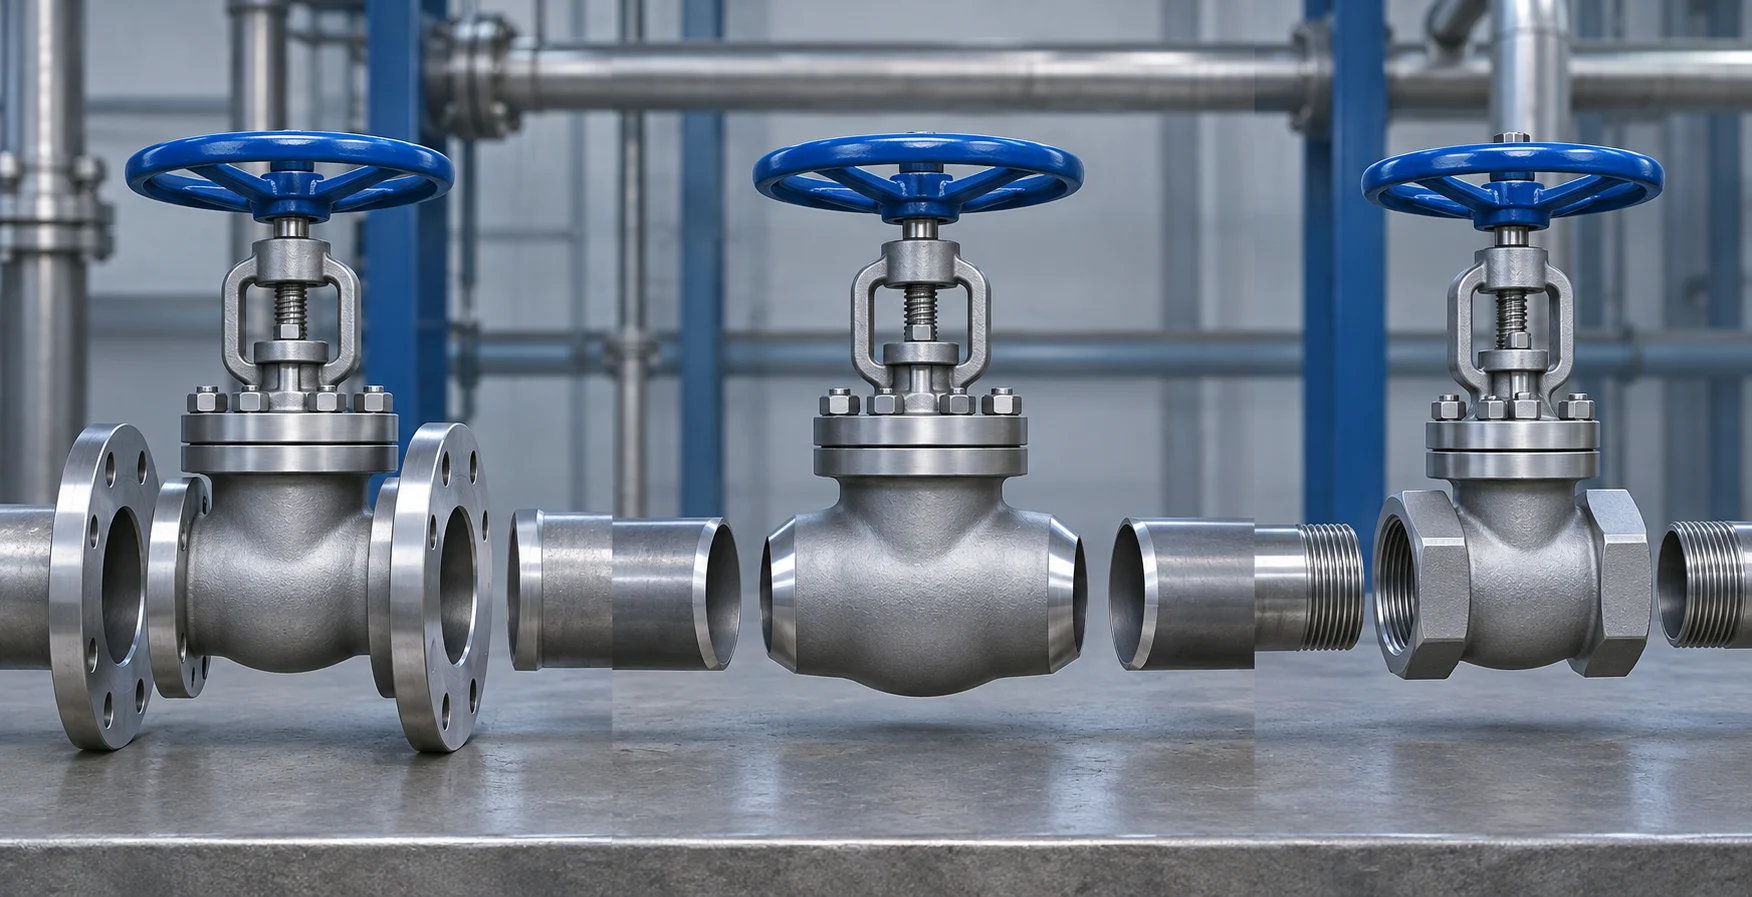
Butt-weld and socket-weld valves require different pipe preparation and installation procedures.
For butt-weld connections, the valve end and pipe must be suitable for the same welding conditions. Wall thickness, bevel preparation and material compatibility should be reviewed before fabrication.
Socket-weld connections require the correct socket dimensions and insertion clearance. Incorrect preparation can affect weld quality, internal flow and final alignment.
4. Review Threaded Connections Carefully
Threaded valves must match the pipe thread standard and size. NPT, BSP and other thread forms should not be treated as interchangeable without confirmation.
The thread direction, sealing method and available installation space should also be checked. Applying excessive force or using the wrong sealing material may damage the connection or create leakage.
5. Check Face-to-Face Dimensions
Face-to-face dimensions determine the space occupied by the valve in the pipeline. If the dimension is different from the approved design, the valve may not fit between existing flanges or pipe ends.
This issue is especially important when replacing an installed valve. The replacement should be checked against the original valve drawing, not only against the nominal size.
6. Consider Alignment and Pipe Support
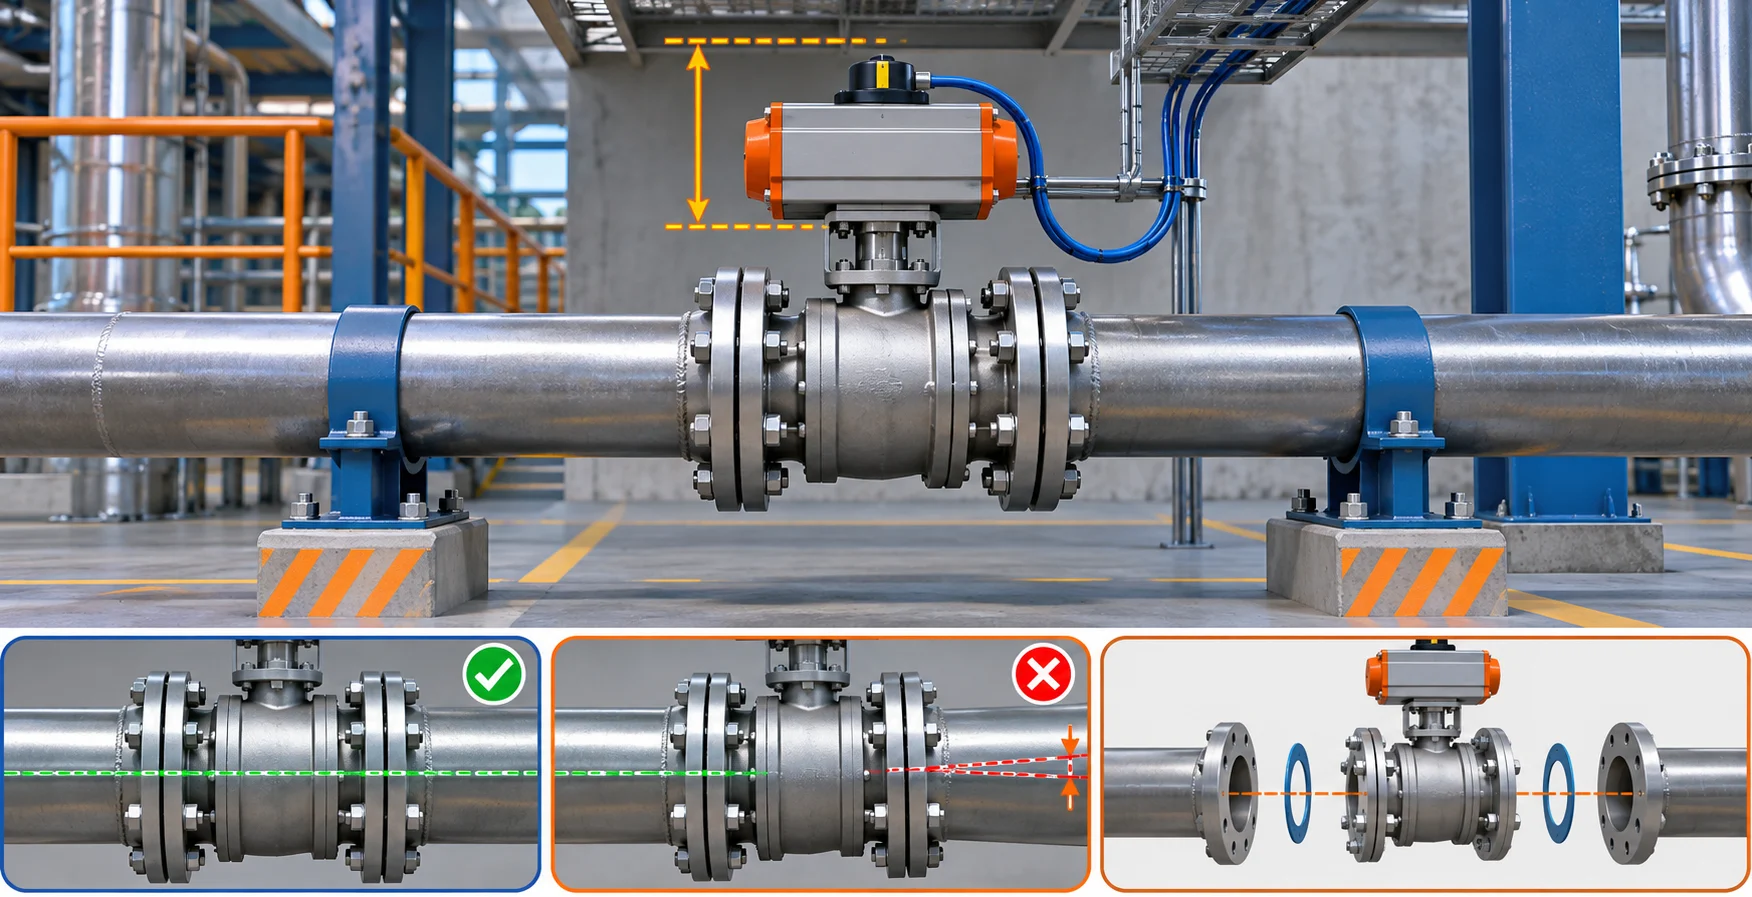
A connection problem may appear during installation even when the specifications look correct. Pipe misalignment, insufficient support or excessive external loading can place stress on the valve body and connections.
Before installation, check that:
- Mating connections are parallel and aligned
- Pipe supports are correctly positioned
- The valve is not being used to force the pipe into position
- The actuator has enough operating clearance
7. Add Connection Details to the RFQ
An RFQ should include more than the valve type and size. It should state the required connection standard, rating, facing, face-to-face dimension, material and testing requirements.
Pre-Ordering Checklist
Before approving a valve quotation, confirm:
- The end connection matches the piping system.
- The flange standard and bolt pattern are compatible.
- The welded or threaded ends match the pipe preparation.
- Face-to-face dimensions meet the approved drawing.
- Materials are suitable for the service conditions.
- Alignment, support and actuator clearance have been considered.
Verifying these details before purchase is usually easier and less costly than correcting a connection problem after delivery.
Related Articles
-
 November 6,2026
How to Read an Industrial Valve Data Sheet
An industrial valve data sheet summarizes the technical conditions required for valve selection. Before requesting a quotation, engineers and purchasing teams should check whether the valve type, pressure rating, materials and connections match the piping system. 1. Confirm the Valve Type Start by i …
-
 November 3,2026
How to Read an Industrial Flange Drawing
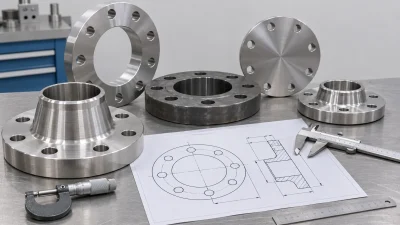
An industrial flange drawing contains the information needed to identify, manufacture and inspect a flange. Before sending an RFQ or approving a quotation, review the following details. 1. Check the Standard First identify the applicable standard, such as ASME B16.5, ASME B16.47 or EN 1092-1. The st …
-
 October 20,2026
How to Prepare a Technical RFQ for Industrial Flanges
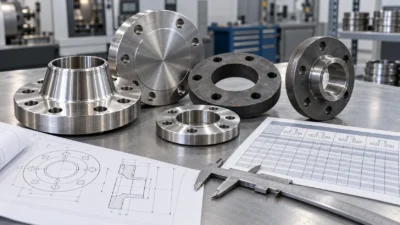
A technical RFQ, or Request for Quotation, should include enough information for the supplier to identify the required flange and check its compatibility with the piping system. An incomplete RFQ may lead to repeated questions, incorrect selection or delays in quotation and production. 1. Specify th …